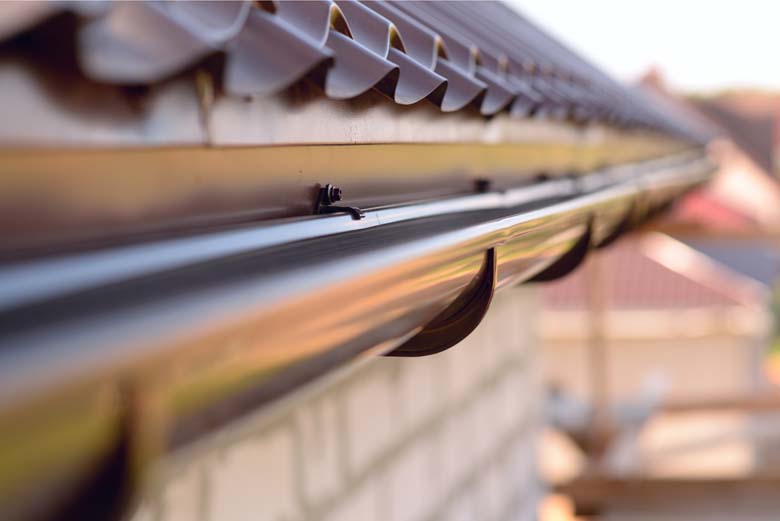
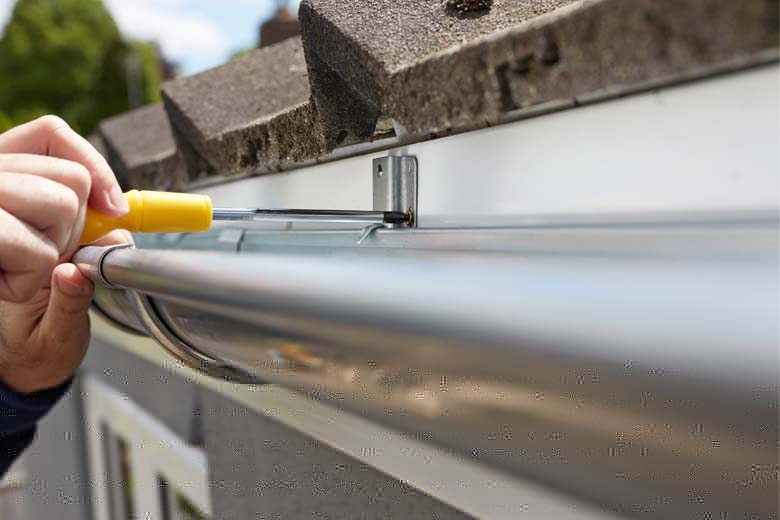
Despite guttering being quite an understated addition to the outside of your home, it is a crucial component of your roofing system.
The function of your guttering is to manage water around your home and to protect it from any damage it may cause. However, your gutters can only operate effectively when they are kept clear of any debris, which could block your guttering system and cause the water to collect and stagnate. This leaves your home vulnerable to problems such as rotting, structural issues and so on.

It is advisable to check your gutters regularly to ensure that they continue to function effectively, some suggest checking your gutters seasonally to avoid any problems. However, there may come a time when you need to refit or replace your gutters.
With that in mind, here’s our guide on how to fit your guttering safely and effectively:
Tools required
- Hacksaw
- Scaffolding or ladder
- Spirit level
- Pencil
- Drill
- Silicone-based lubricant
- String
- Heavy-duty tape measure
Safety
For your safety, ensure you have:
- Safety goggles
- Protective gloves
Additionally, if you choose to use a ladder over a scaffold, be sure to move it accordingly to avoid injury from overstretching.
Gutter installation

Step 1: Using your pencil, mark out the positioning of the gutter stop end or outlet and fix holes onto the fascia. When doing this, ensure that there is no more than 50mm below the level of the roof before drilling your pilot holes in.
Step 2: After drilling your pilot holes, fix the stop end to the fascia board and use the recommended fixing to secure it.
Step 3: Measure 100mm from the gutter stop end to the end of your fascia board and fit one of your support brackets here. Ensure you are raising this support bracket every 3mm, using your spirit level every meter – repeat this process at both ends.
Step 4: Once your fascia brackets are secure, tie a string between the brackets and the gutter stop end (or outlet) and make sure the string is tight for accuracy.
Step 5: Use the fall of the string as a guide (it should drop around 3mm every meter). Mark where each bracket needs to go – ensure they are no more than 1m apart or 150mm from any bends.
Step 6: Begin snapping your gutters in place. Push each in carefully but firmly until it snaps into position. Make sure you caulk the seams of each gutter with a silicone-based sealant.
Step 7: After the first length of guttering is level and in place, fit a union bracket. This will enable you to connect your next section of the gutter.
Step 8: You may need to cut your guttering to fit into place, it is often necessary to cut the last section – using a hacksaw.
Next: Fitting downpipe
Step 1: Ensure you have marked a straight guide down the wall in order to fit your downpipe.
Step 2: You may need to add an additional length of downpipe. Join two parts with a downpipe pipe socket and pipe clip. To allow for any expansion, leave a 10mm gap between the pipe and the pipe socket.
Step 3: Ensure you have caulked all seams and used the silicone lubricant to ease each fitting.
Gutter aftercare
Now that your gutters are refitted and replaced, aftercare is crucial to ensure their durability. As above mentioned, it is important to check your guttering system for damage and debris regularly. If your gutters are beginning to sag or overflow – there’s an issue!
Cleaning your gutters
It is important to your gutter aftercare to ensure you are cleaning them often to maintain them. This involves regularly removing debris such as leaves and dirt.
If you opt to clean your gutters by hand, ensure you are wearing heavy-duty work gloves and use a garden trowel to remove any debris that has amassed. Remove all debris little by little with great care, ensuring you are also checking your downspouts for leaves and dirt. The alternative is to use a high-pressure washer which will make the job quicker and more effective.
To check you have cleared your guttering system of leaves and other debris, flush the gutters and downspouts until you can see they are functioning properly. You can find more information on cleaning your gutters in our gutter cleaning guide.
Repairing your gutters
You are likely to come across leaking joints in your guttering at some point. Your guttering system is responsible for a large amount of water management therefore this hardly comes as a surprise. The good news is that leaking joints can usually be repaired quickly and easily with a waterproof sealant. Hose down the area you believe is leaking, clean and then apply a silicone caulk to seal it.
If you keep your guttering system in good condition, it is a powerful line of defence for your home.
Looking for more information on guttering? Our gutter repair or replacement guide contains everything you need to know in order to accurately plan the work. Want to know how much it’s likely to cost? My Local Toolbox has put together a guide on costs for repairing or replacing your guttering which considers the many factors involved; materials, labour, and other outlays.
To get quotes for fascias, soffits or guttering – post a job now.